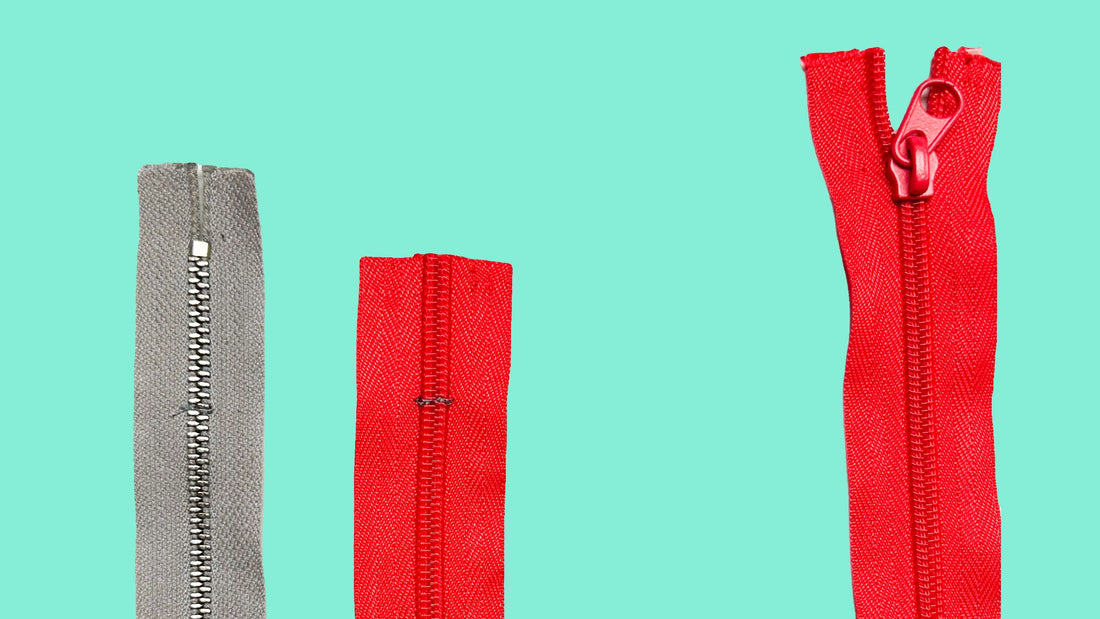
Shortening non-separable zippers: Instructions for plastic and metal
Find out in this article how you can easily shorten non-separable zippers made of plastic or metal. You will also discover a slightly more complex but worthwhile method for plastic zippers that guarantees an attractive appearance.
Is your zipper separable? Then go here - in our article "shortening separable zippers" you will find the relevant information.
Option 1: Quick shortening for plastic and metal zippers:
Measure the new length of the zipper and mark it on the tape (draw or pin).

Now, using the sewing machine and your normal foot but a sturdy needle (such as one for denim), sew a small bartack over the zipper teeth by simply sewing back and forth a few times.
You can also do this with the metal zipper, but you have to make sure that the needle hits the teeth. Otherwise, the needle can easily break. Alternatively, you can sew the bartack by hand.
Tip: I sewed the bartack on the metal zipper with the sewing machine, but only with the handwheel so that I have the best control over the needle.
You can now simply cut off both zippers generously below the new latch and your shortened zipper is ready.
Sometimes the cut strips on shortened plastic zippers fray relatively quickly. You can prevent this relatively easily by simply "sealing" the cut edges with a lighter flame. When you flame the end, you should proceed very carefully. Ideally, you should carry out this step far away from easily flammable objects.
In the next section we have put together a nice alternative to plastic zippers so that the cut edges do not fray.
Option 2: Shortening plastic zippers - "clean" variant:
For non-separable plastic zippers, there is an elegant variant for neatly processing the ends.
1. Mark the new length on the zipper tape as described above.

2. Then cut about 1 cm into the zipper tape directly next to the teeth on both sides. Now take a strong pair of household scissors and only cut off the teeth.

3. Now fold one side of the exposed band up by 90° to create a slope and pin it in place.

4. Now fold the other side up in the same way and fold in the excess tape. You should now have a triangular zipper end.
Then use the sewing machine to sew the pinned ribbons onto the zipper close to the edge.

Complete! :)

