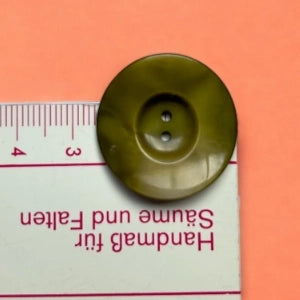
Sew on a button in just a few steps
Whether it's shirts, blouses or coats - sewing on buttons is easy once you've got the hang of it. (Almost) all you need is a needle and thread. In this guide, you'll learn how to use a needle and thread to sew ( re- ) sew missing buttons onto shirts, blouses and coats in no time at all.
You need:- Button
- needle
- thread
- Scissors
- Toothpick?
Step 1: Prepare needle and thread
For extra hold on the button, double the thread. Cut off about 40 centimeters of thread, thread it through the needle and tie the two ends together.

Step 2: Sew on the button
Start from the back and put the needle where you want the button to go. Sew the thread carefully so that nothing slips. Thread the button and push the needle through the adjacent hole back to the bottom without pulling the thread through.

Step 3: Perfect bridge thanks to the toothpick trick
Take a toothpick, push it between the threads and pull the thread tight. This will keep the distance between the fabric and the button constant and your style is secured.

Step 4: Sew the button on
Repeat the process several times: bring the needle back to the starting hole and repeat the process about five times. Do the same for the remaining holes, always making sure to hit the same holes.

Step 5: Work the bridge under the button
Remove the match and wrap the area with the double thread. Stitch from below through the fabric without coming out at a buttonhole. Wrap the area tightly several times.

Step 6:
Stitch through the fabric again so that the thread is on the inside of the garment. Sew the ends together with a few stitches and tie off the ends of the thread. Done!


